Instructions for
DIY Holiday Ornament Cut and Sew Kit
|
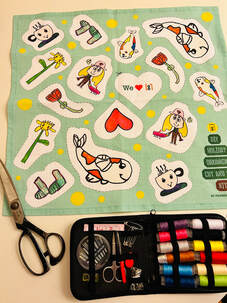
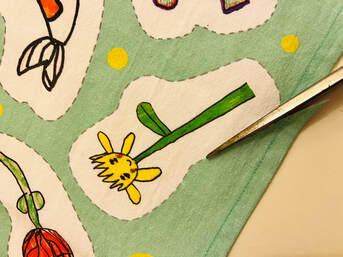
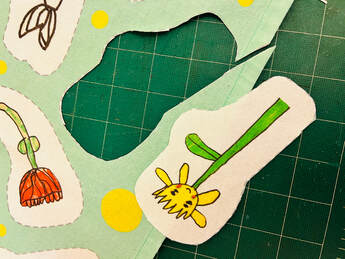
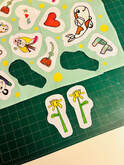
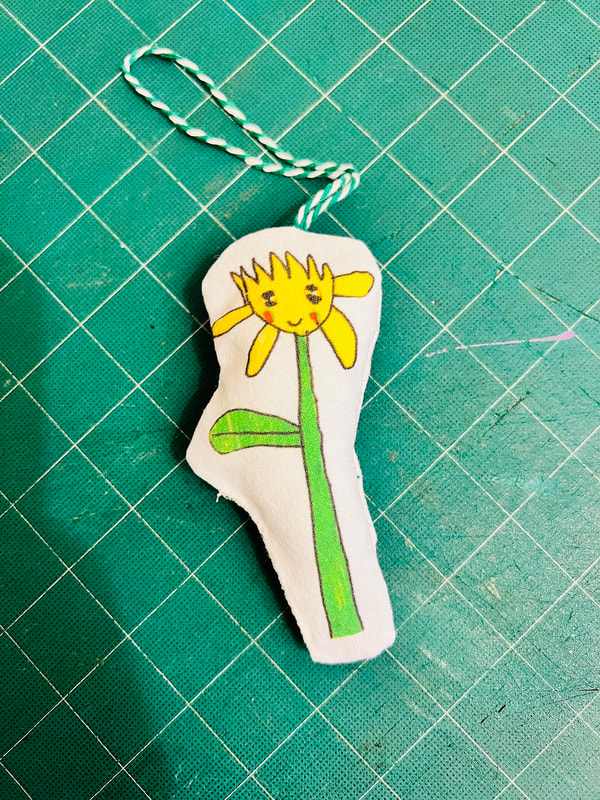
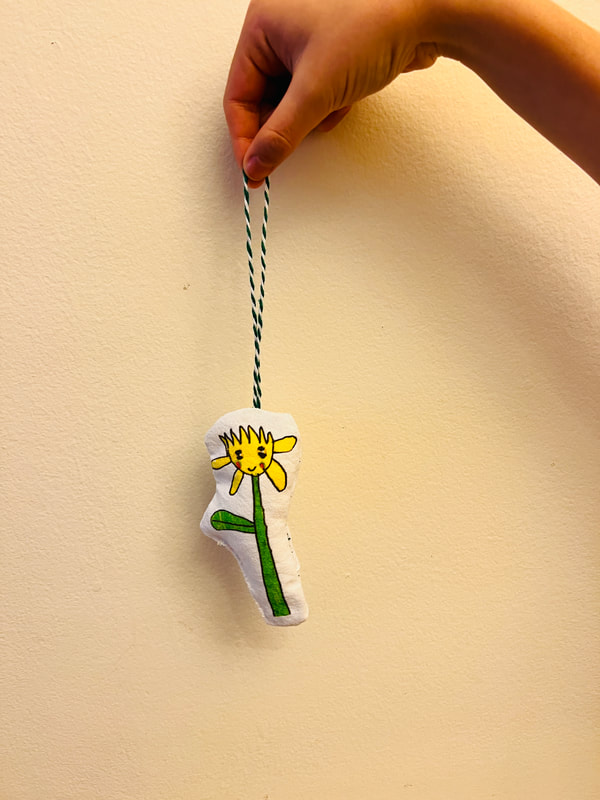
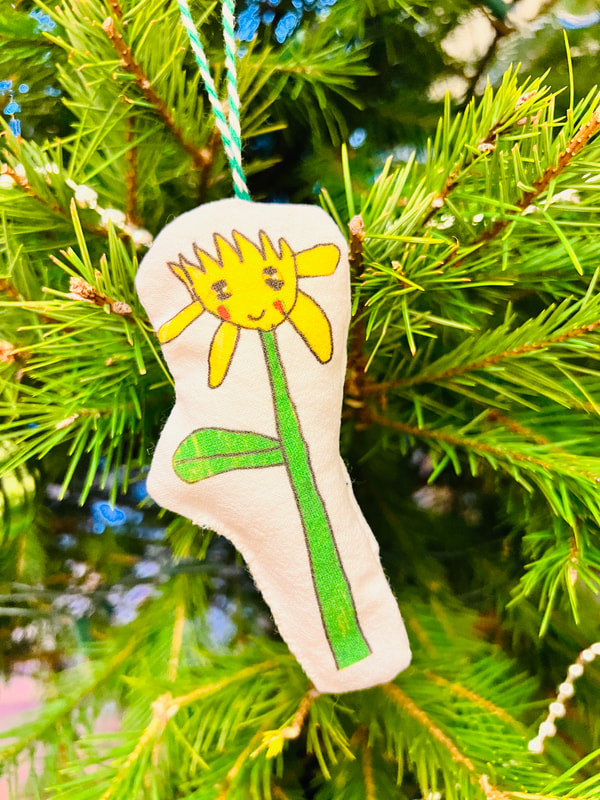
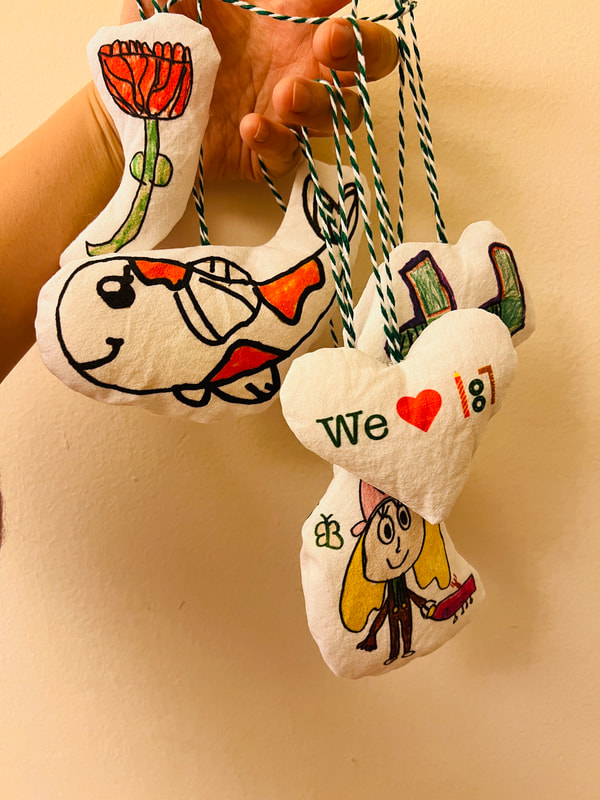
The tea towel can be used as a tea towel, but there is a better way to enjoy it. You can cut out the shapes on the tea towel, sew pieces together and make plush holiday ornaments! It's a fun activity to do with your family and friends during this holiday season. We hope you enjoy it!
What you need:
|
|
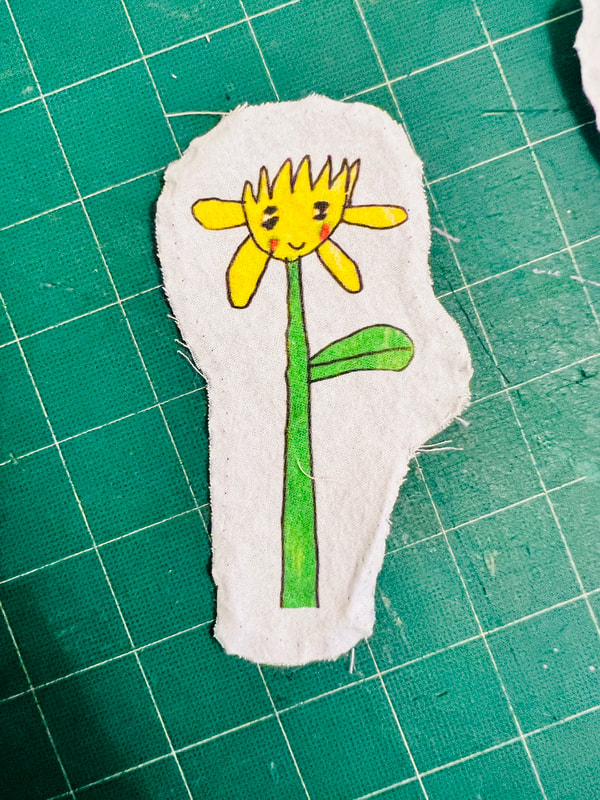
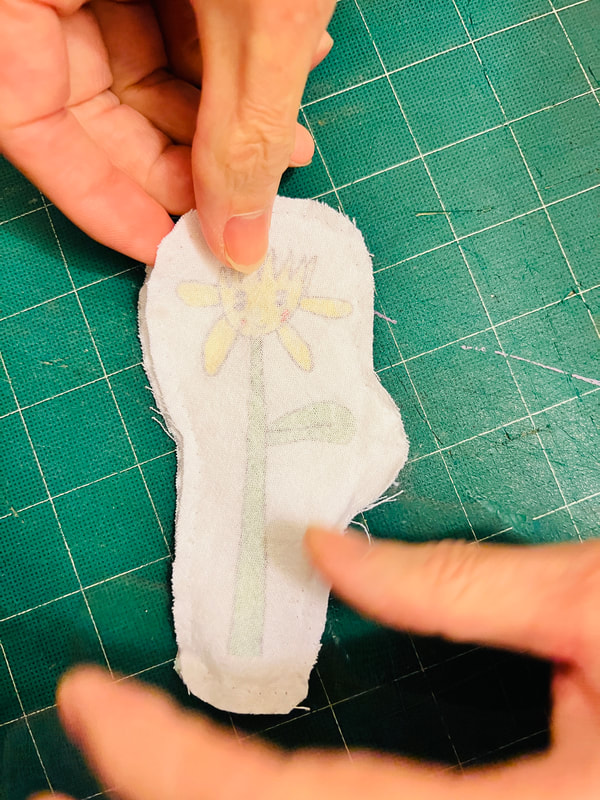
With all of your pieces cut out, it’s time to get sewing. Start by laying one cut out shape flat onto your table, right side facing up.
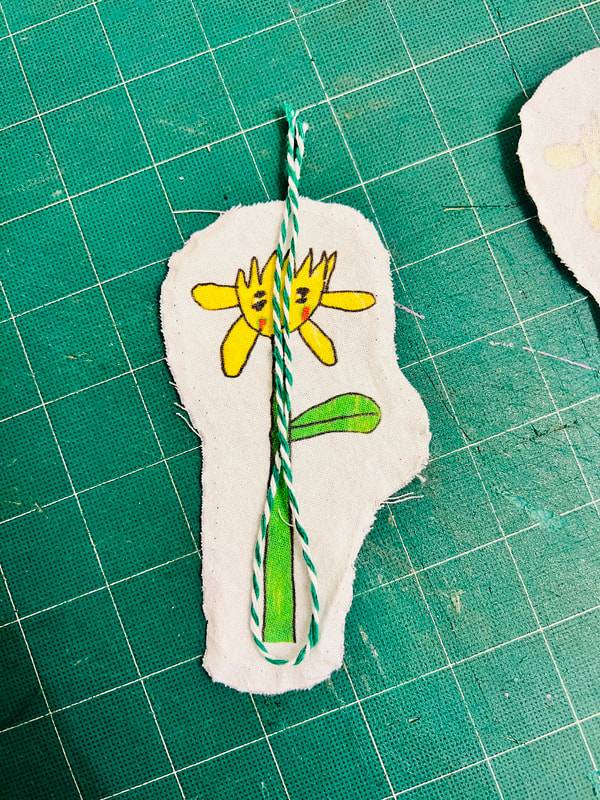
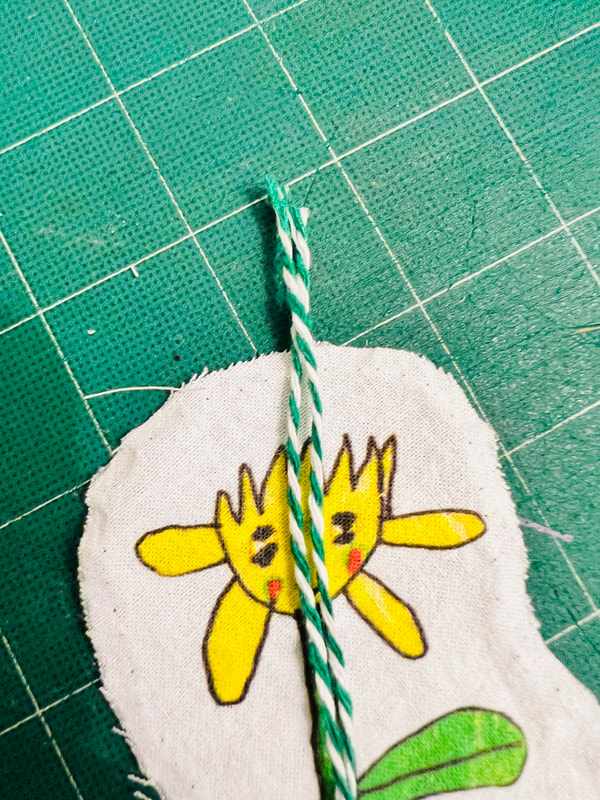
Next, take one of the twines included in the kit, make a loop and place it over the cut out piece like shown in the photo. The ends of the twine should be off about a inch from the edge. Place the other piece, wrong side facing up this time, on top of the bottom piece and align it as neatly as possible with the bottom one. |
|
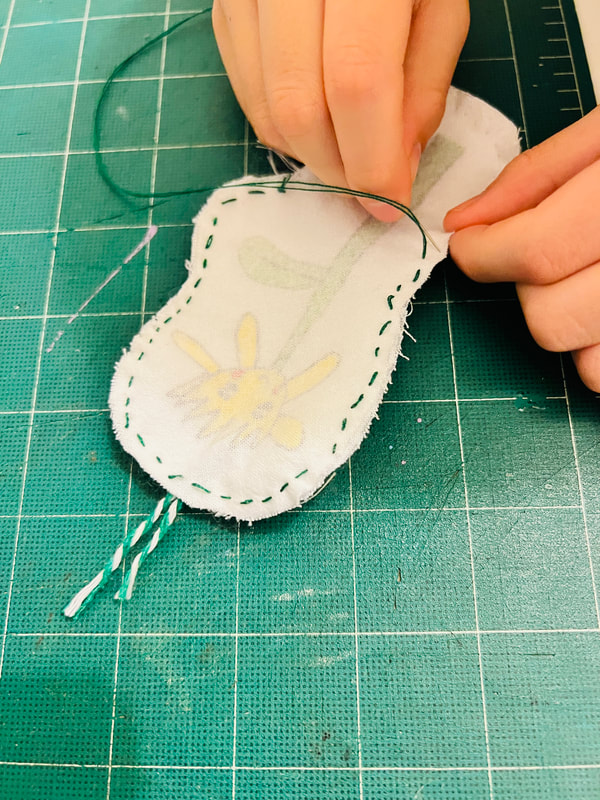
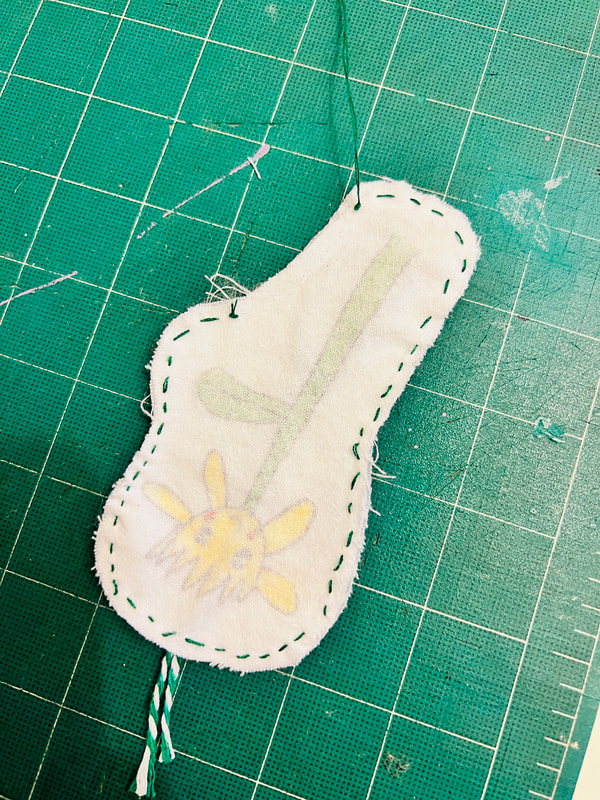
Starting at the bottom, sew all the way around the edge of the shape, but leave approximately 1 inch open like the second photo. Use a straight stitch and sew approximately 0.2 inch from the edge.
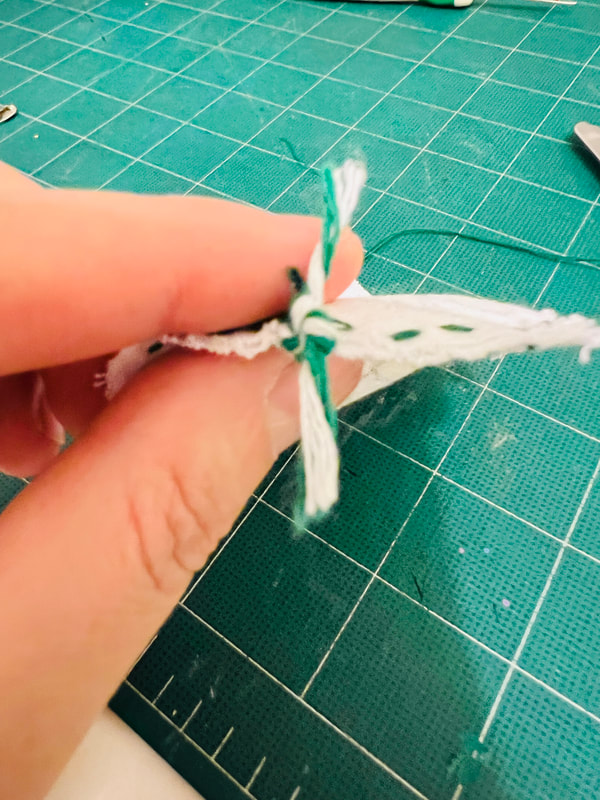
Tie a knot with those two twines hanging out from the top of the cut out pieces. This will prevent the twine from coming loose. |
|
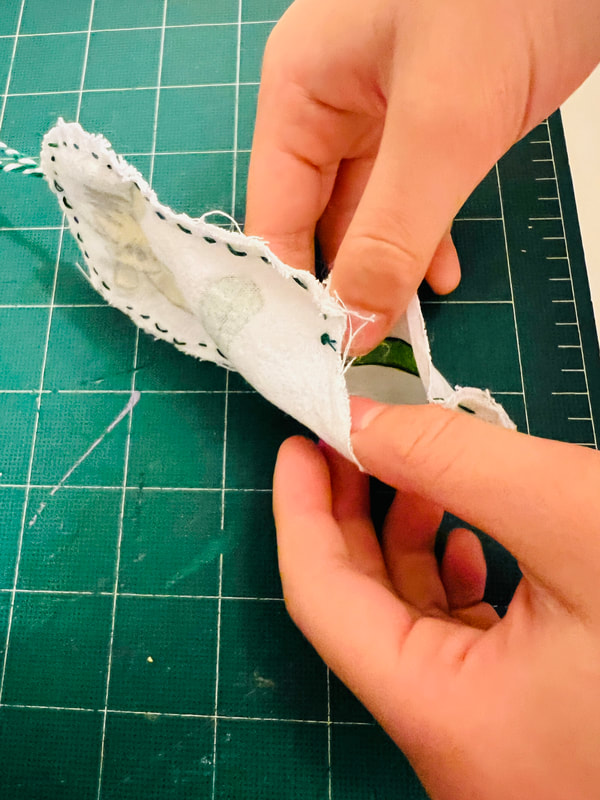
Turn the entire plush inside out through the hole you left at the bottom. Use a blunt item, like the rubber end of a pencil, to push the smaller sections through.
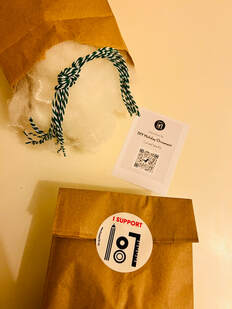
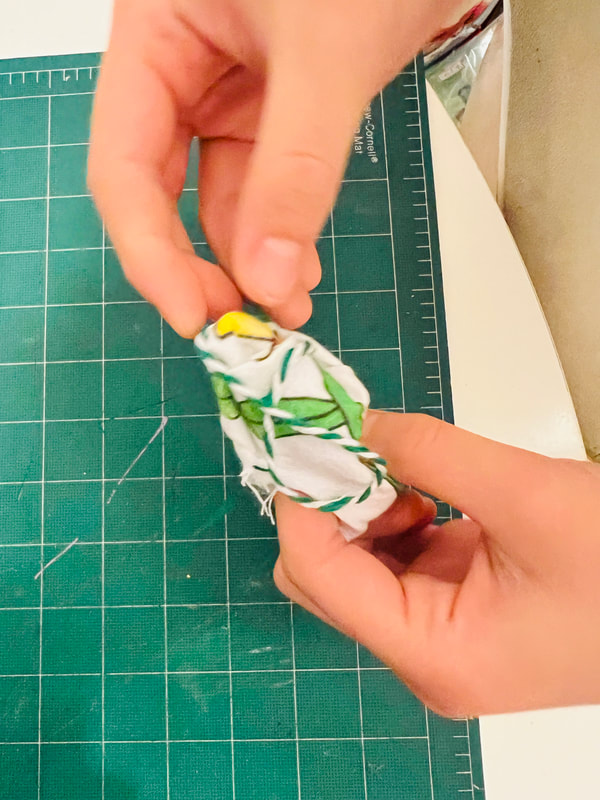
Using the fiber filling that came with the kit, fill the plush ornament. Make sure you get right into the corners as well. Next, use a ladder stitch to hand-sew the opening closed. |

